1. First start
The first time you open Pain Tracker it walks you through three short steps. None of them take longer than a few taps, and all of them can be changed later.
The tour
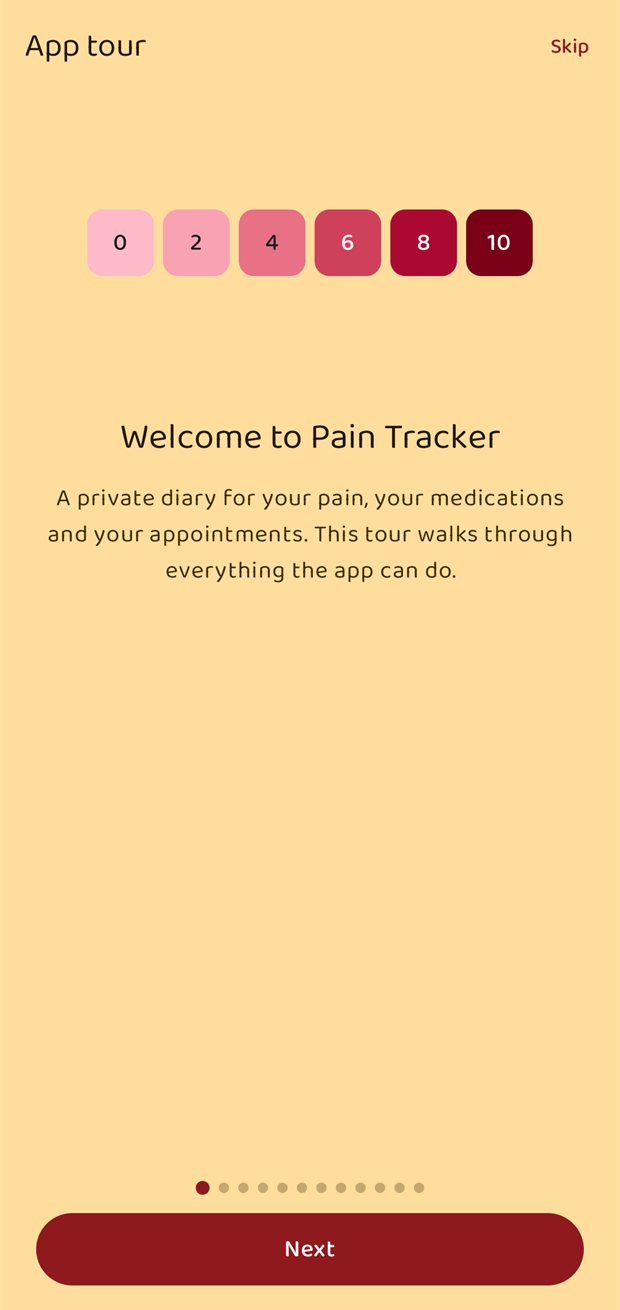
A twelve-step tour explains what the app can do — logging pain, medications, appointments, the month view, trends, exporting, the widget and the settings.
- Next moves forward one step.
- Skip (top right) jumps straight to the end.
- You can reopen the tour at any time from Options → App tour.
Choosing a look
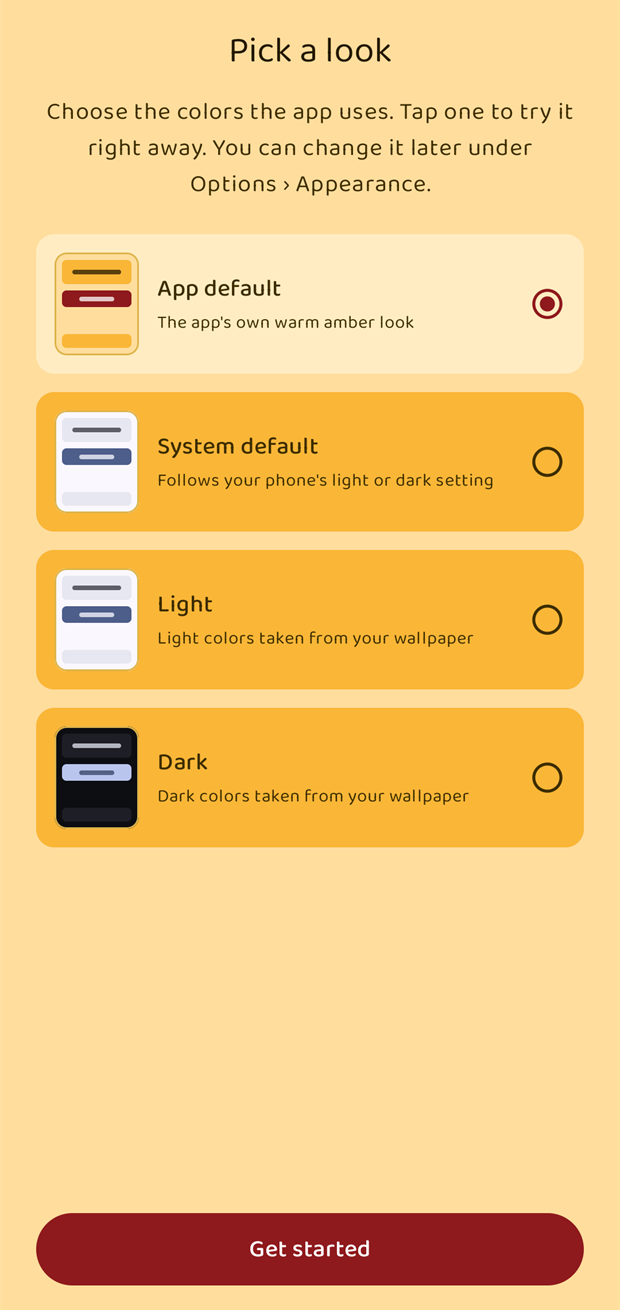
Straight after the tour the app asks which colours it should use. Tap one to try it immediately; the whole screen changes as you tap.
| Choice | What it means |
|---|---|
| App default | The app's own warm amber look. This is what the screenshots in this manual use. |
| System default | Follows your phone's light/dark setting. |
| Light | Light colours taken from your wallpaper. |
| Dark | Dark colours taken from your wallpaper. |
Tap Get started when you are happy. You are only asked once — afterwards the same four choices live under Options → Appearance.
Allowing notifications
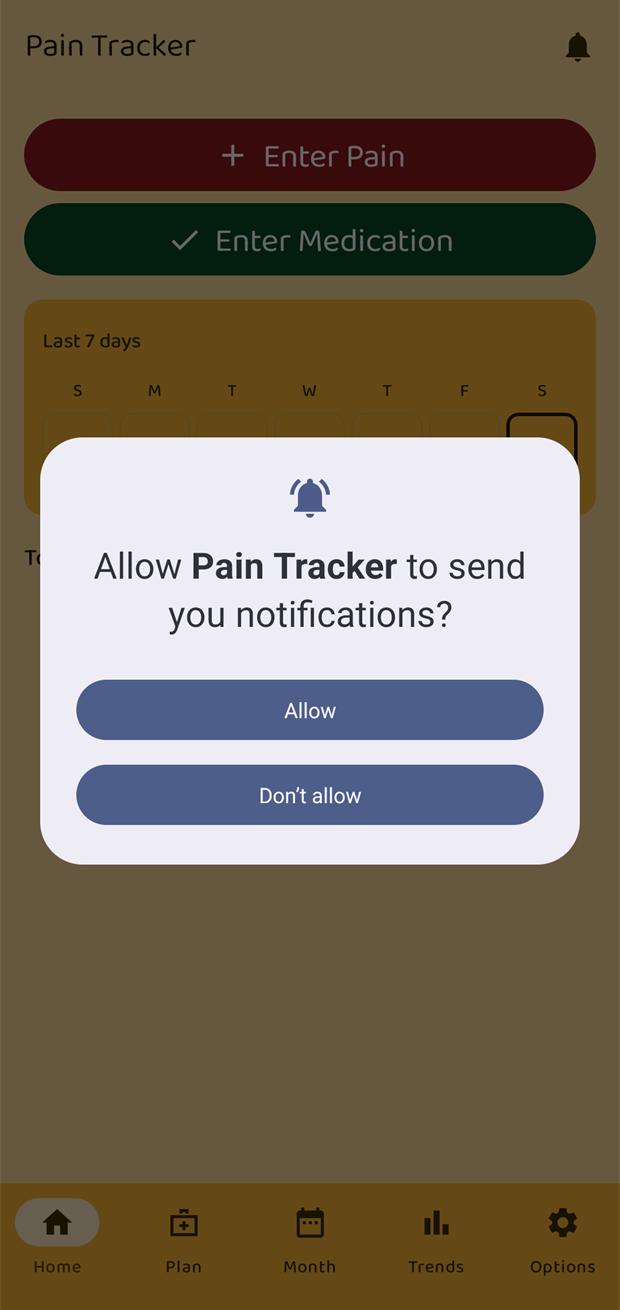
Android then asks whether Pain Tracker may send you notifications.
Tap Allow if you want to be reminded about medications, appointments or activities. Reminders are the only thing the app ever notifies you about.
If you tap Don't allow, everything else still works — you simply will not be reminded. The app warns you about this later, the moment you switch a reminder on, and offers to take you to the Android setting so you can turn notifications back on.
An empty diary
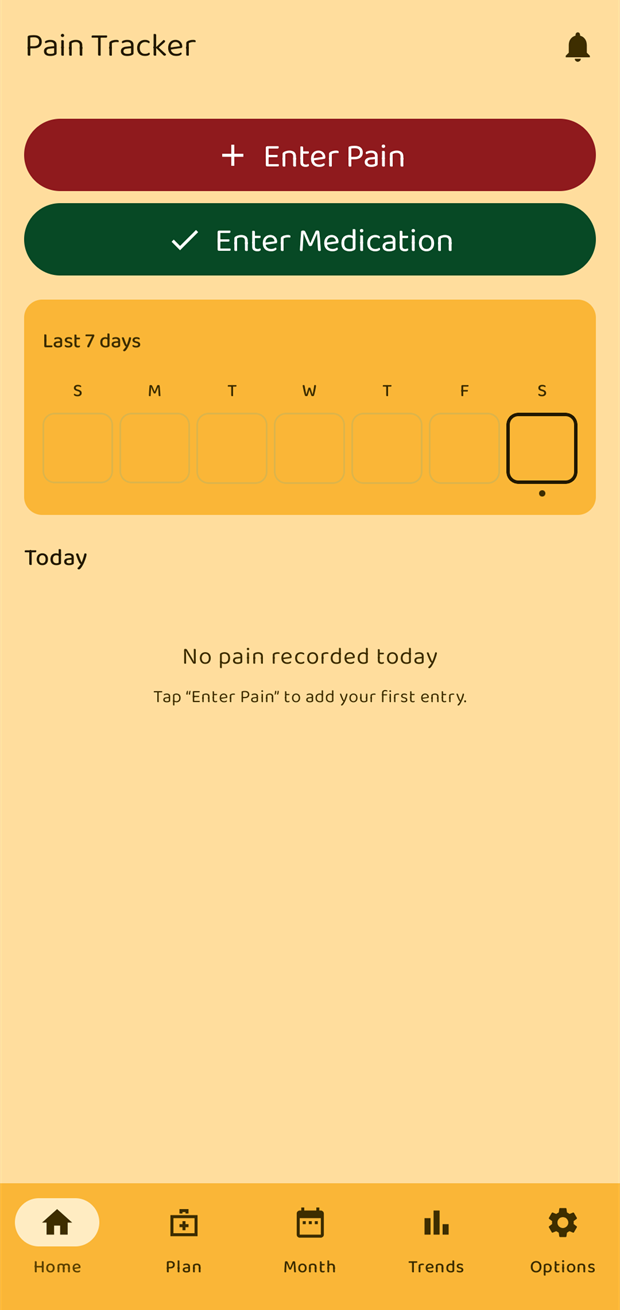
That is the whole setup. The Home screen starts empty, with two large buttons: Enter Pain and Enter Medication.